
By on April 2, 2025, 3:38 p.m.
Creating engaging Instagram videos is essential for boosting your online presence and growing your audience. Whether you're an influencer, a brand, or a casual content creator, high-quality videos help you stand out in the crowded Instagram feed. But editing videos can feel overwhelming, especially if you’re not a professional editor.
That’s where ClipGenie comes in! Our powerful online video editing tools make it easy to cut, compress, record, and convert videos in just a few clicks. No need for expensive software—ClipGenie simplifies video editing so you can focus on creating amazing content.
Short, impactful videos perform best on Instagram. Whether you're creating an Instagram Reel, Story, or Feed video, you’ll want to trim unnecessary parts to keep your content engaging.
Instagram has file size limits, which means your video may need to be compressed before uploading. Instead of letting Instagram reduce your video quality, use ClipGenie’s video compressor to keep your videos looking sharp.
Want to add a screen recording to your Instagram video? With ClipGenie’s free screen recorder, you can record your screen directly from your browser.
Instagram only supports specific video formats like MP4 (H.264 codec). If your video is in a different format, you’ll need to convert it to avoid upload issues.
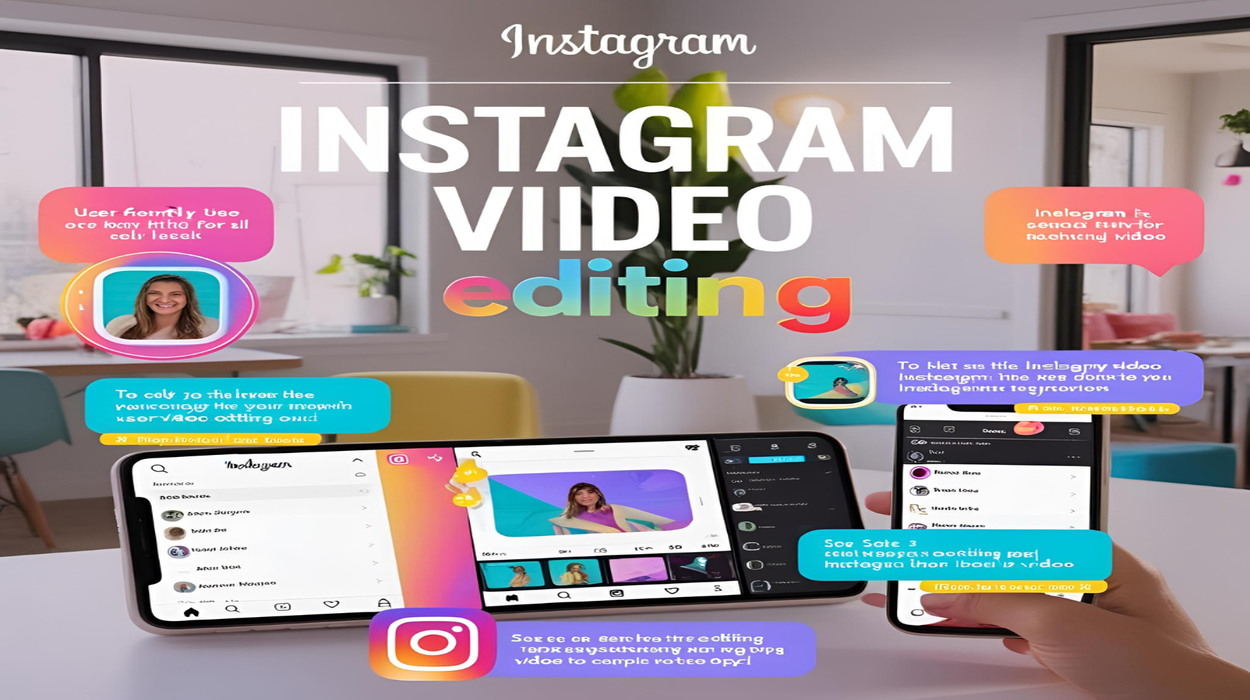
Now that your video is ready, it’s time to upload it to Instagram! Follow these steps for a seamless upload experience:
Start creating stunning Instagram videos today with ClipGenie.